Eye Patches 101

A Discussion On Eyepatches for Lash Extensions
You can be forgiven for thinking that choosing eye patches is as simple as just picking the first box you see - after all, how technical can you get about such a small thing? As it happens, picking the perfect Eyeatches for your client can be the difference between smooth set after smooth set, and getting so frustrated that you want to just throw your tweezers away and give up lashing for good!
To help you get to grips with all things related to eyeatches, we have put together the ultimate guide to eyepatches - in short, we did the hard work so you don’t have to.
Picking The Right Eye Patches
As you know, we stock lots of different types of eyepatches - you may have even wondered why? To put it simply, each type of eye patch has its own subtle differences which make them perfect, or less so, for individual clients.
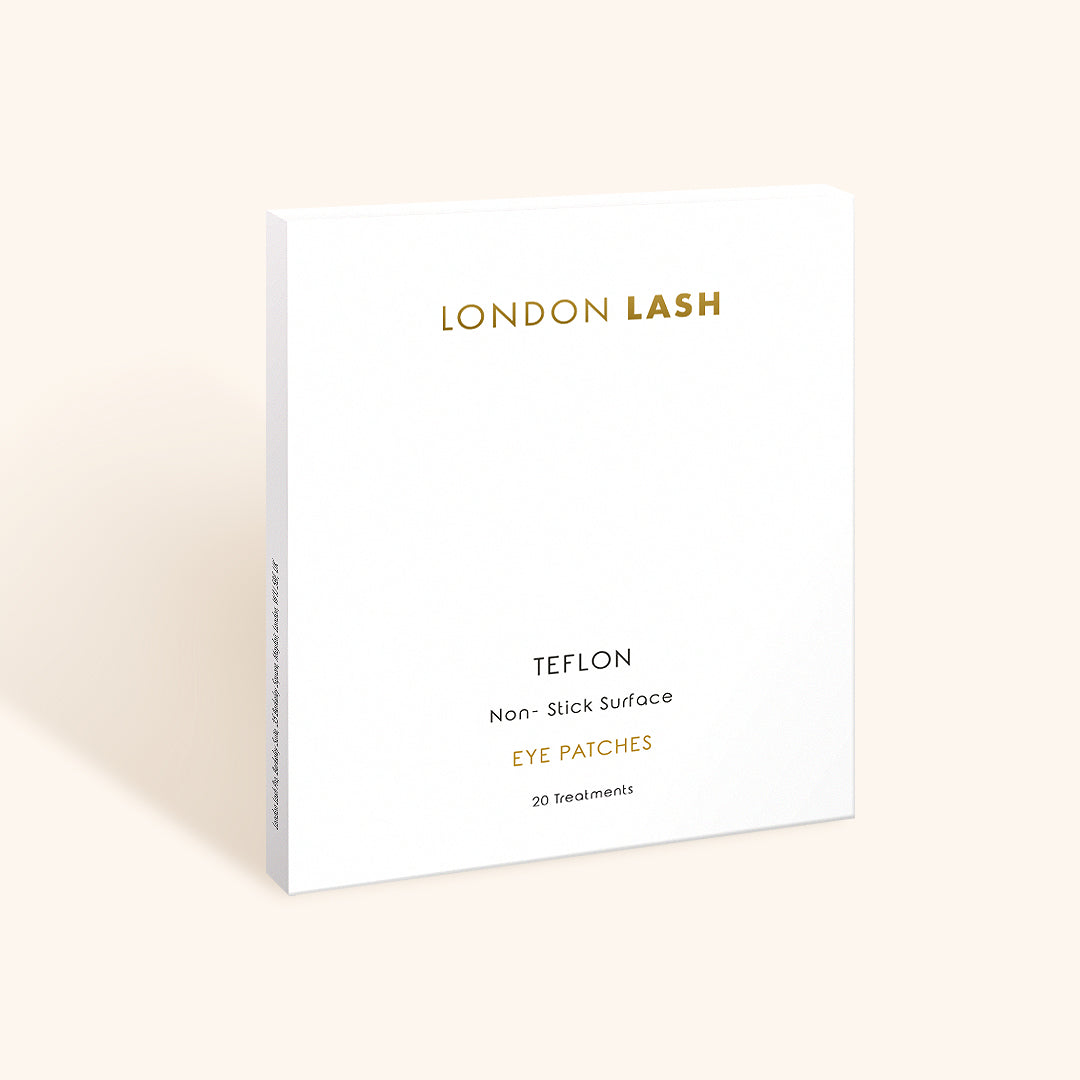
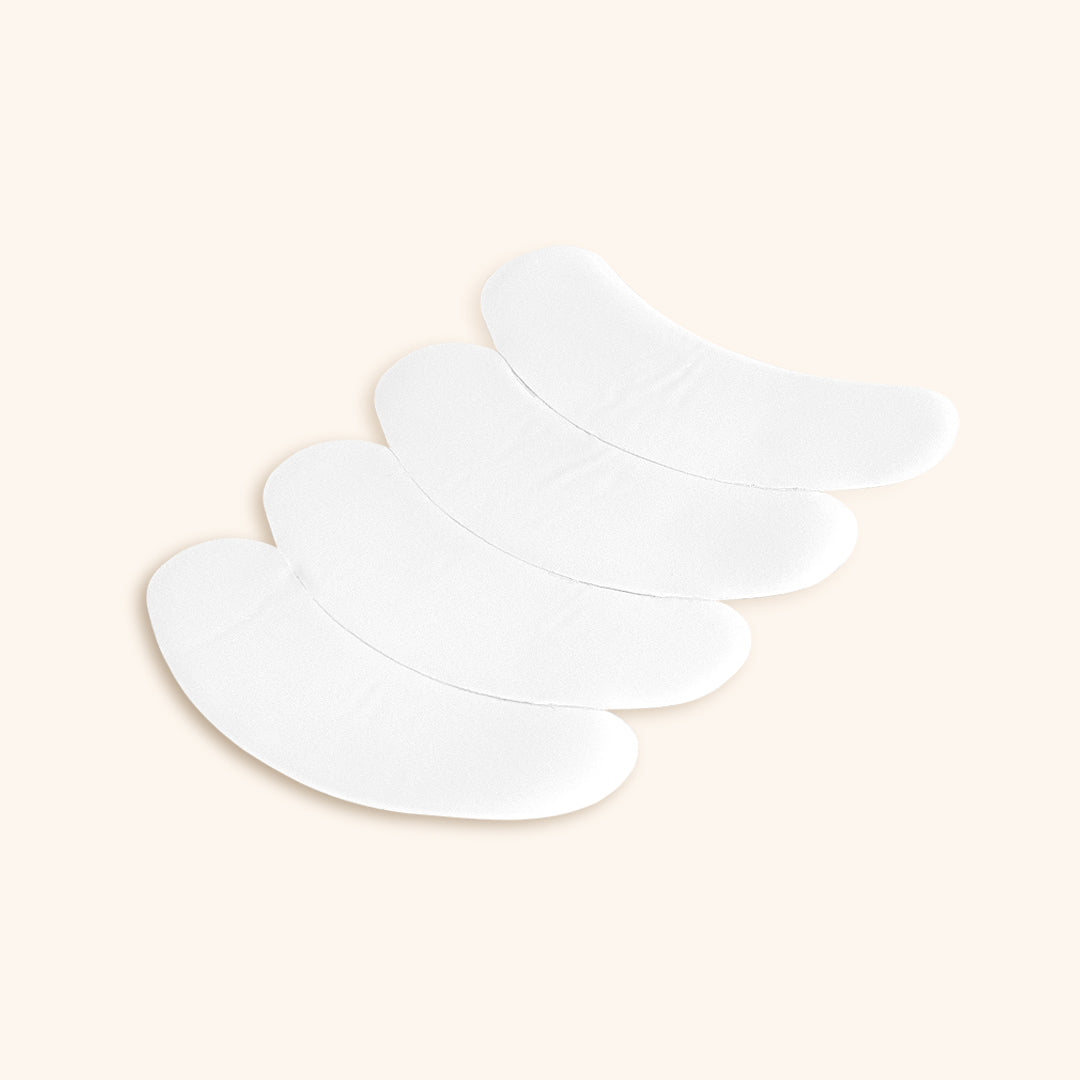
- Teflon are small in size with a revolutionary non-stick top layer, making them a life-saver when lashing clients with downward growing lashes or clients with smaller eyes. They are also great for beginners who are more prone to stickies (lashes sticking together after application). Additionally, the specially formulated gel keeps them in place, so they are perfect for clients with oily skin or deep-set eyes.
- Nano-Hydro Gel eyepatches are very easy to place due to their ergonomic shape, even for beginner lash artists. Their thin gel strip allows the client's eyes to be completely closed, which prevents potential chemical burn. They also contain aloe vera extract for an additional spa-like feeling.

Tips & Tricks
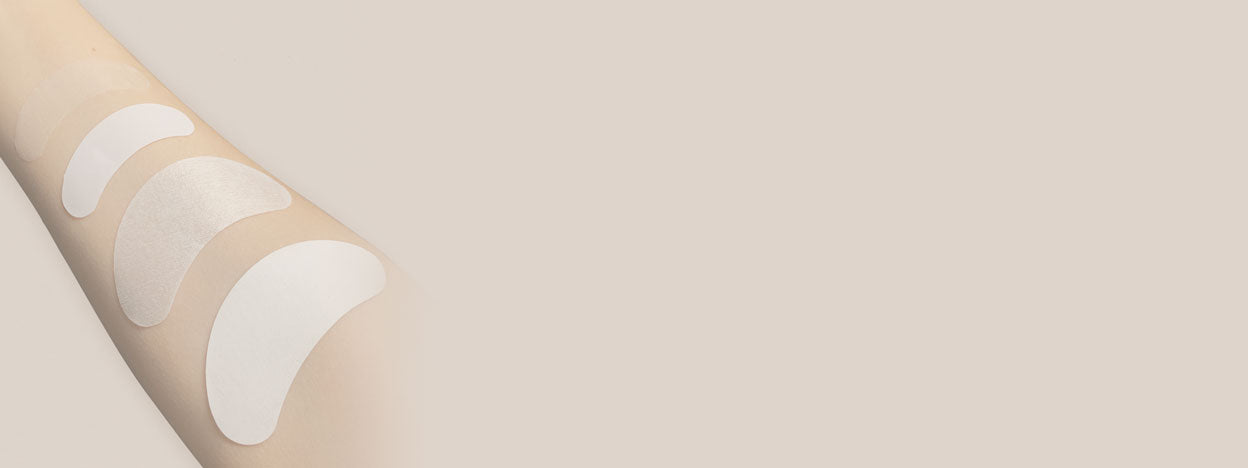
You’re going to need to really perfect your placement - choosing the perfect eyepatch is only one part of the challenge - now you need to prep and place like a BOSS! But wait, some clients have smaller eyes, or very round eyes. Maybe that has scared you in the past, but learning how to cut and customise the eyepatches will help you to perfectly place them even on the most difficult eye shapes.
Before you do anything else, clean the skin with Protein Remover Pads and follow your regular Pretreatment routine. Read about our ultimate Pretreatment routine here. Oily and/or makeup covered skin will not keep those eyepatches in place. Take a Protein Remover Pad, roll it on your finger and gently cleanse the under-eye area. Let the skin dry, then place your eye patches in these simple steps:
- Start from the inner corners to ensure the eyepatch is not placed too far/too close to the eye and nose.
- Follow the lash line and place the eyepatch around 1mm lower than the water line. Placing the eyepatch too high will result in eye irritation, which is not only super uncomfortable for your client, but will leave a big red mark on the eyeball. The discomfort will make their eyes twitchy, making your job harder.
- Remember not to place the eyepatch too low either as this will cause bottom lashes to come out from under the eyepatch, which will make it ever so easy to stick the extensions to the bottom lashes.
What Else Can Help?
- Lower the outer corner of the eyepatch to make it comfortable. This is easier to gauge when the eyes are closed, as you may find that your client’s eyes kind of suck in the patch. Gently pull back the top eyelid, lift the outer corner of the eyepatch and place back down where it is comfortable.
- Use Surgical Tape if needed for baby lashes. Again, this is easiest to do when the eyes are closed - simply pull back the top eyelid gently and tape down any stubborn baby lashes with tape.
- Continue to double check during the treatment to ensure your client’s comfort, and to make sure no baby lashes have snuck out from under the eyepatch.
Now, you may be saying "LLP! Why not just use tape?" Well, of course you can. But keep in mind that tape has its own drawbacks as well as its own plus points.
Pros:
- Easily adaptable to all eye shapes and sizes.
- More uses from a roll of tape than a box of eyepatches.
- Generally, clients are highly unlikely to be allergic to tape so it is a great alternative if someone is allergic to an ingredient in the eyepatches.
Cons:
- Far less comfortable or luxurious than eyepatches.
- Can hurt when removed as it can pull on the lower lashes.
- Harder to correct than eyepatches.
- Harder to draw a nice lash map on.
- Leaves marks on the skin more than eyepatches will.
- Is too thin and does not protect your client’s gentle skin from sharp tweezers.
To Recap
- Wrong size of eyepatches for the client - if the eyepatches don’t fit, they simply will not be able to do their job as they should.
- Placed too close to the eye, causing irritation.
- Placed too far from the eye, causing bottom lashes to escape.
- Placed too high on the bridge of the nose - this can cause the eyepatches to cover the inner corner lashes on the top eyelid, which will cause the eyepatch to lift, and will mean that the inner corners cannot be covered so you’ll have an incomplete lash set.
- Placed too far from the inner corners, meaning that the inner corner bottom lashes are not covered, leading to stickies.
- Using too much pressure when applying eyepatches or touching them too much during the treatment. This will cause the eyepatches to move around, exposing lashes and also potentially causing discomfort for the client.
- Applying too much pressure on the eyepatches with tweezers when lashing - not only does this move the patch, potentially exposing the bottom lashes and throwing your lash map out of place, it is also a horrible feeling for the client.
- Not checking eyepatches during treatment, which can lead to misplacement, irritation, and stickies.